How to Use an Angle Grinder for Carving: A Comprehensive Guide
The Quick Verdict
An angle grinder is one of the fastest ways to shape wood once you fit the right carving disc. The tool removes material quickly, so control and safety matter more than raw power.
Master a light grip, slow passes, and the correct disc, and you can carve bowls, signs, and sculptures at home with confidence.
Carving with an angle grinder turns a basic power tool into a serious shaping machine. With the right wheel fitted, the grinder hogs out waste wood in seconds and lets you sculpt curves that would take hours with hand tools.
This guide walks you through every step, from choosing a carving disc to finishing a smooth surface. It is written for beginners and improvers who want clean results without losing a finger. Follow the safety advice closely, because a spinning disc deserves real respect.
We independently evaluate all of our recommendations. If you click on links we provide, we may receive compensation.
Why Carve With an Angle Grinder
The biggest advantage is raw speed when shaping large pieces of wood. A grinder removes in minutes what hand gouges take hours to clear. That lets you focus your energy on the creative shaping rather than the grind.
Grinders are also affordable and flexible, since one tool handles many discs. You probably already own one for metal or masonry work. Adding a single carving wheel unlocks a whole new craft at very little cost.
Can You Really Carve Wood With an Angle Grinder
Yes, and many professional carvers rely on a grinder for the rough shaping stage. The trick is matching the disc to the job, since a standard metal grinding wheel will never carve wood well. Purpose built carving discs cut, gouge, and sand depending on the design you pick.
A 4.5 inch grinder is the sweet spot for most carvers because it balances power with control. Larger 9 inch models remove wood faster but feel heavy and harder to steer. Start small, build skill, and only size up once your technique is solid.
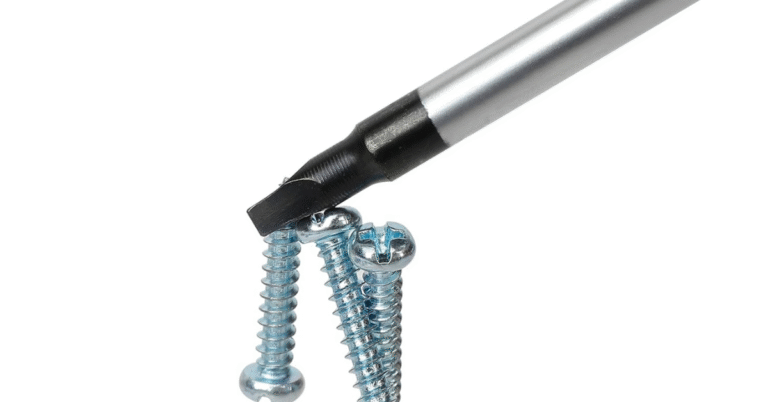
Tools and Discs You Need for Carving
The disc you fit decides how the grinder behaves, so this is the most important choice you will make. Each type has a clear job, and most carvers own two or three. Build your kit slowly as your projects grow.
Chain carving discs
These wheels use a small chainsaw chain wrapped around a guide and cut aggressively. They strip waste wood fast and suit roughing out bowls and large sculptures. Beginners should treat them carefully, since they grab and kick more than other discs.
Tungsten carbide carving wheels
Carbide wheels are studded with hard teeth that shave wood in a smoother, more forgiving way. They give you better control for shaping and refining curves. Most beginners should start here because the cut feels predictable.
Flap and sanding discs
Once the shape is roughed in, flap discs smooth the surface and blend tool marks. They come in grits from coarse to fine, just like sandpaper. Keep a couple of grits on hand for clean finishing.
Safety Gear You Cannot Skip
Carving discs spin fast and throw chips, dust, and the occasional fragment. Good protection is not optional, and one accident can end your hobby for good. Treat the gear list below as the price of entry.
Wear a full face shield over safety glasses, since a flying chip can pass under a visor. Add cut resistant gloves, ear protection, and a dust mask rated for fine wood dust. Tie back loose clothing and never carve in long sleeves that can catch.
Step by Step Carving Guide
Step 1: Secure your wood
Clamp the workpiece to a sturdy bench so it cannot shift. A loose blank is dangerous and ruins your accuracy. Make sure your cutting path is clear of clamps and cords.
Step 2: Sketch your design
Draw your outline directly on the wood with a marker or pencil. Mark the high points you want to keep and shade the waste areas to remove. Clear guide lines stop you from cutting too deep too soon.
Step 3: Rough out the shape
Fit your aggressive disc and remove the bulk waste with shallow, controlled passes. Let the disc do the work rather than forcing it into the grain. Keep both hands on the grinder and your body braced.
Step 4: Refine the form
Switch to a carbide wheel and shape the details with lighter strokes. Work across the grain where you can to avoid tear out. Step back often to check your shape from different angles.
Step 5: Sand and finish
Move to a coarse flap disc, then work up through finer grits. Finish by hand with sandpaper for the smoothest surface. Seal the piece with oil or lacquer to protect your work.
Techniques for Cleaner Results
Carving well is mostly about control rather than power. Keep the grinder moving so the disc never dwells in one spot and burns the wood. A steady, sweeping motion produces the cleanest cuts.
Use the lower section of the disc for shaping and avoid the area near the guard. Tilt the tool gently to feather edges and blend transitions. Practice on scrap before you commit to a real project.
Common Mistakes to Avoid
The biggest beginner error is pushing too hard and losing control of the disc. The second is removing too much wood at once, since you cannot put it back. Slow down and your results improve instantly.
Never remove the guard to reach awkward spots, because it is your main protection. Avoid carving tired or rushed, when mistakes multiply fast. Keep your discs clean and replace them when they wear down.
Choosing the Right Wood for Carving
The wood you pick shapes how easy your first projects feel. Softer species like pine, basswood, and poplar carve smoothly and forgive small slips. They are the best choice while you build muscle memory and confidence.
Harder woods such as oak, walnut, and maple reward you with crisp detail and a premium finish. They demand sharper discs, lighter passes, and more patience. Save them for when your technique is dependable.
Always check your blank for hidden nails, grit, or loose knots before you start. These can fling the disc or shatter on contact. A clean, dry, well seasoned piece carves far more predictably than green wood.
Setting Up a Safe Work Area
Your workspace matters as much as your technique when a disc is spinning. Carve outdoors or in a ventilated shop, since fine wood dust builds up fast. Good airflow protects your lungs and keeps your view clear.
Keep the floor clear of cords, offcuts, and clutter that could trip you. Position your body so you are never pulling the grinder toward yourself. A stable stance gives you the control that prevents most accidents.
Have a first aid kit, a fire extinguisher, and a clear exit within reach. Sparks and hot dust are a real fire risk in a dusty shop. Keep a clean bench so you can set the running tool down safely.
Finishing and Sealing Your Carving
A great finish turns a rough carving into a piece you are proud to show. Start by removing every tool mark with progressively finer flap discs. End with hand sanding to bring out the smoothest possible surface.
Wipe away all dust before you apply any finish, or the surface will feel gritty. Oil finishes soak in and highlight the grain with a natural look. Lacquer and polyurethane build a tougher protective layer for high use pieces.
Apply thin coats and let each one dry fully before adding the next. Light sanding between coats keeps the finish even and clean. Two or three coats usually give the durable result most carvers want.
Frequently Asked Questions
What size angle grinder is best for carving
A 4.5 inch grinder suits most carvers because it balances power with control. Larger models cut faster but feel heavy and harder to steer for fine work.
Which disc should beginners start with
A tungsten carbide carving wheel is the safest starting point. It cuts smoothly and predictably, which makes it far more forgiving than an aggressive chain disc.
Is angle grinder carving dangerous
It carries real risk because the disc spins fast and can kick. Full safety gear, a firm grip, and slow controlled passes keep the work safe.
What wood is easiest to carve
Softer woods like pine, basswood, and poplar are forgiving for beginners. Harder species carve cleanly but demand more control and sharper discs.
Can I carve other materials with a grinder
Yes, with the correct disc you can shape stone and soft metals too. Always match the wheel to the material and check the speed rating first.
Ready to Start Carving
Pick up a forgiving carbide wheel, fit your safety gear, and practice on scrap before your first real project.Shop Carving Discs
Also Read On:
This Hammer Drill Outperformed DeWalt, Makita, and More in Our Tests
5 Best Reciprocating Saws for Demolition Work in 2026(Engineer Tested)